Materials and Finishes
Lacquered Walls: How to Get a High-Gloss Finish at Home, Honestly
How to get a lacquered, high-gloss wall at home: which walls suit it, oil or water-based paint, the step-by-step prep and when to call a pro.
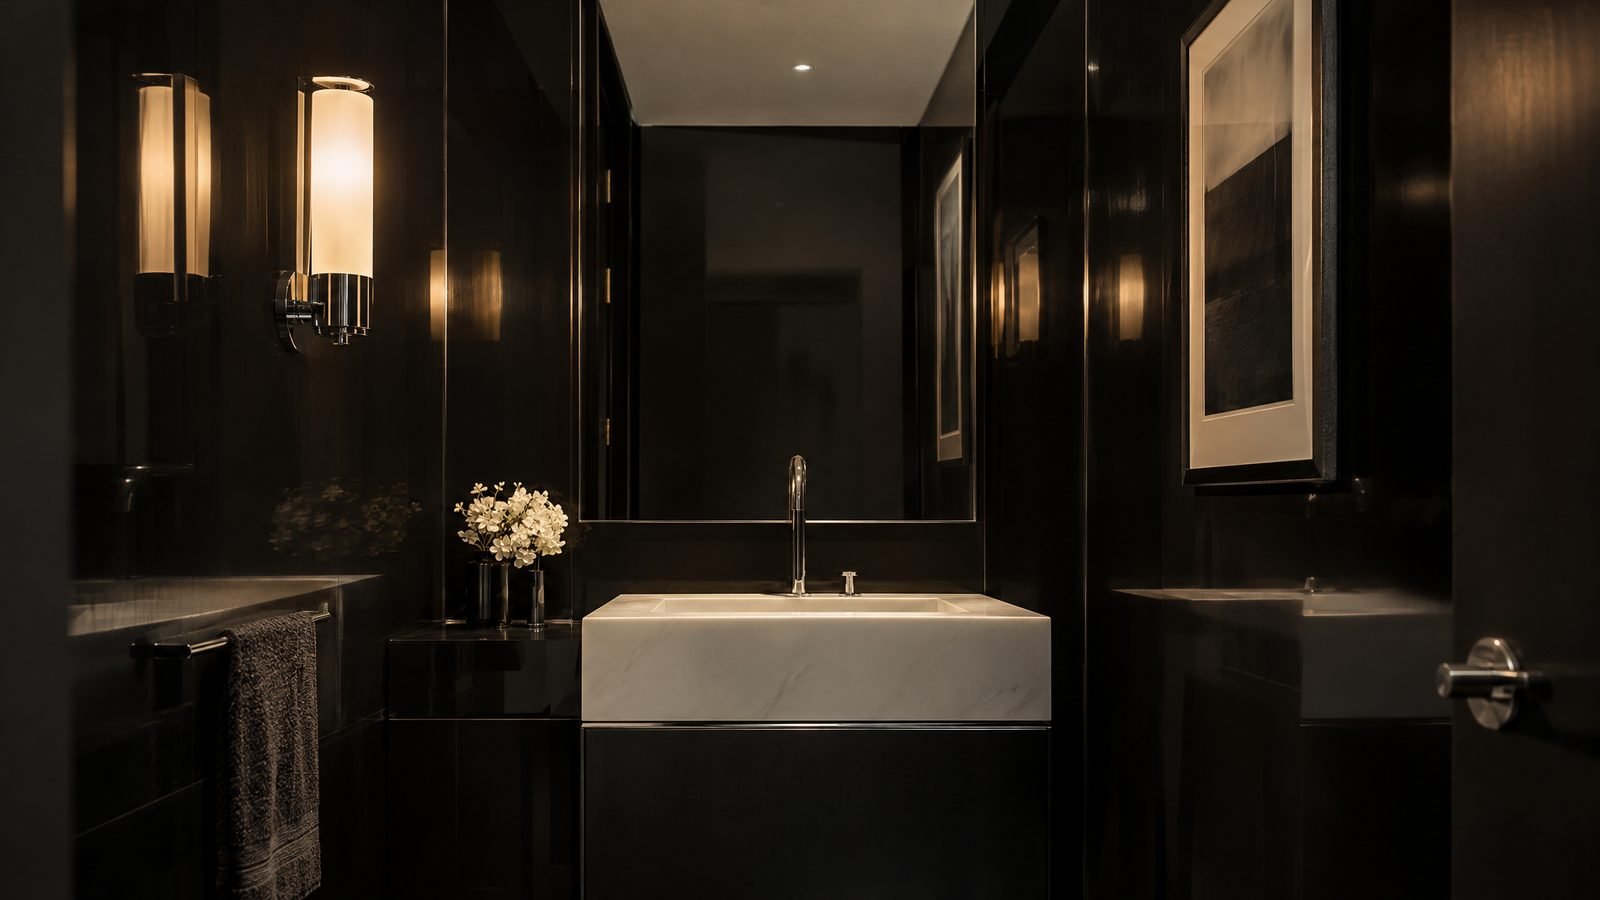
A lacquered wall is the most demanding finish you can put on a wall. It is also one of the most beautiful. Done well, it holds a lamp's glow like still water. Done in a hurry, it shows every bump you never knew you had. Here is the honest version: what it takes, where it works and when to call in help.
What "lacquered" means today
Traditional lacquer work meant many thin, hard coats, each one rubbed smooth before the next. The result was deep and liquid, a surface you could almost see into.
At home today, a "lacquered wall" usually means high-gloss paint over a wall prepared until it is perfectly smooth. Some decorators spray specialist lacquer systems. Most of us use a brush, a roller and a lot of patience. The look comes less from the tin and more from the work underneath it.
Gloss tells the truth
Matte paint forgives. It scatters light, so small dents and ridges disappear. Gloss does the opposite. It reflects light in one direction, like a mirror, so every flaw catches a highlight. A ridge from an old filler patch. A hairline crack. Roller texture. All of it shows.
That is why the finish feels so special when it is right. It tells you someone took care.
Is your wall a good candidate?
Before you buy paint, be honest about the room.
- Smaller is easier. A powder room, a study, a hallway or the back wall of a bookcase. Less area means less to prepare and fewer places for flaws.
- Smooth plaster is best. Very old, wavy walls can look lovely in gloss, but only if you accept the waves. Flat walls take more prep, not less.
- Think about the light. Light that skims along a wall from a side window shows texture the most. Light that hits the wall face-on is kinder.
- Keep the ceiling matte. The Glamoratti rule is gloss low, matte overhead. A glossy ceiling bounces light straight back into your eyes and feels busy.
Choosing the colour
Deep colours suit gloss best. Black, graphite and a near-black ink look rich and quiet, and they turn every lamp into a soft reflection. In a small room, a dark gloss wall can make the corners seem to fall away.
White gloss works too, but it can feel clinical over a whole wall. It shines brightest on doors, skirting and a single painted piece of furniture.
Whatever you choose, paint a large test board and lean it against the wall for a few days. Look at it in the morning and again at night.
Oil-based or water-based?
Both can work. Each has a trade-off.
- Oil-based (alkyd) gloss levels out beautifully, so brush marks melt away. It gives a deep, hard shine. It also has a strong smell, needs solvent for clean-up and tends to yellow over time, especially in pale colours and dim rooms.
- Water-based gloss dries quickly, smells less and stays truer in colour. It can be harder to get perfectly smooth, because it starts to set before marks have time to level.
For dark colours, yellowing matters less. For whites, water-based is often the calmer choice. Always follow the maker's instructions for primer, drying time and coats.
The process, step by step
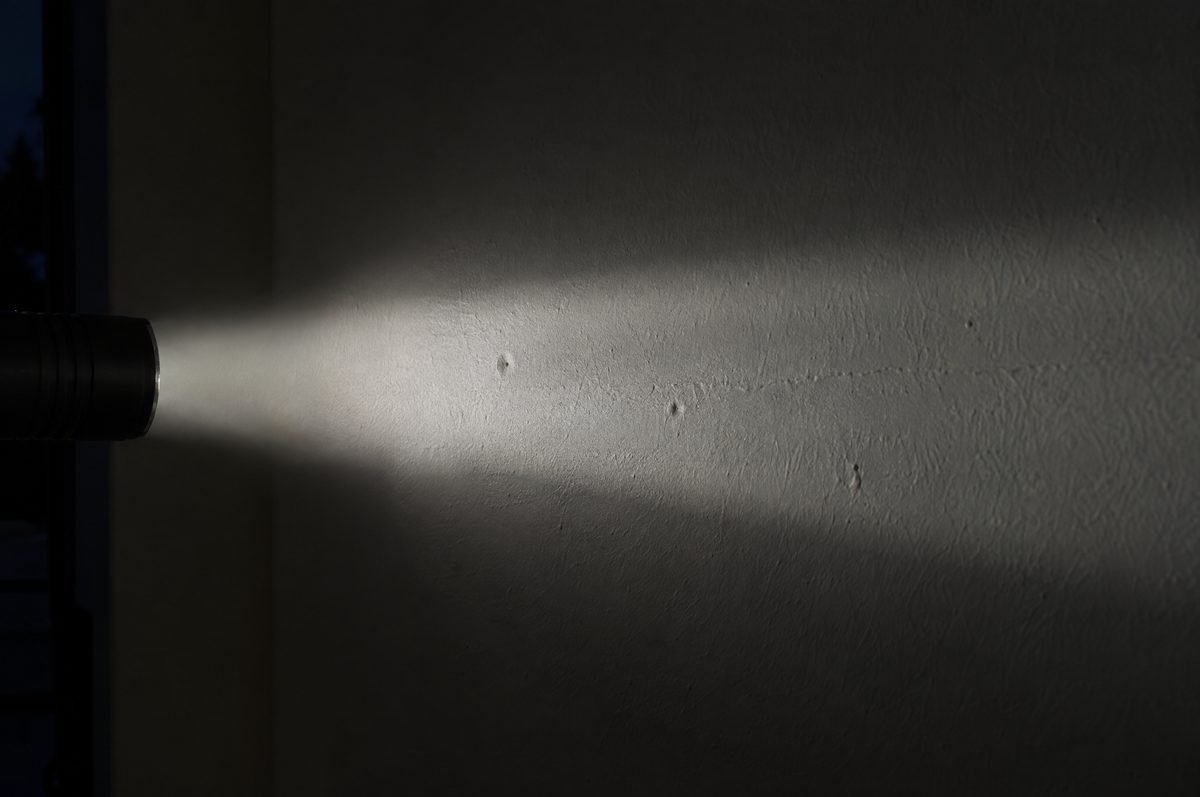
- Do the torch test. At night, switch off the main light and hold a torch flat against the wall so the beam skims across it. Mark every flaw with a pencil.
- Fill and sand. Fill dents and cracks, let them dry fully, then sand them flush. Wipe away all dust.
- Skim if you need to. If the wall is covered in flaws, a plasterer can skim it smooth. This is often the step that makes or breaks the finish.
- Prime. Use the primer your paint maker recommends. It seals the surface so the gloss dries evenly.
- Apply thin coats. Roll a section, then lay it off with light, long brush strokes in one direction. Work in small areas and keep a wet edge, so you never paint over half-dry gloss.
- Sand lightly between coats. Once each coat is fully dry, rub it down gently with very fine abrasive paper, then remove every speck of dust.
- Repeat. Several thin coats look deeper than one thick one. Be patient with drying times. Gloss often needs days to harden fully, even when it feels dry.
Stay safe while you work
- Open windows and keep air moving, especially with solvent-based paint.
- Wear a dust mask when sanding.
- In older homes, layers of old paint may contain lead. Test before you sand, and check your local rules on how to deal with it safely.
- Keep rags soaked in oil-based products away from heat and dispose of them as the maker advises.
When to call in a professional
Hire help for large walls, very uneven plaster, spray finishes, or anywhere the light is harsh and raking. A good decorator will tell you honestly whether your wall can take gloss. That advice is worth having before you start.
Living with a lacquered wall
Gloss is easy to wipe, which is one of its quiet gifts. Use a soft, damp cloth and a drop of mild soap, then dry it. Avoid abrasive creams, which leave dull patches.
Expect a few fingerprints near light switches and door frames. Dark gloss shows them most. A quick wipe becomes part of the routine.
If a full wall feels like too much, start smaller. Lacquer a door, a set of shelves or the inside of an alcove. You still get the depth, with far less risk.
Try this today
- [ ] Do the torch test on the wall you have in mind.
- [ ] Look at the marks. A handful means DIY is realistic. A whole map means a skim coat first.
- [ ] Paint a test board in your colour and live with it for three days.
A calm finish, earned
A lacquered wall is not quick. But it rewards care like few other finishes. Prepare well, go slowly and let the light do the work.
If you want the bigger picture of how gloss, chrome and glass fit together, the free Glamoratti Starter Guide walks through each material and where it belongs. Get the free Starter Guide.